
Fixing Perspective Photoshop and in Camera
Fixing Perspective in Photoshop and in Camera
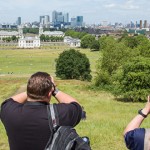
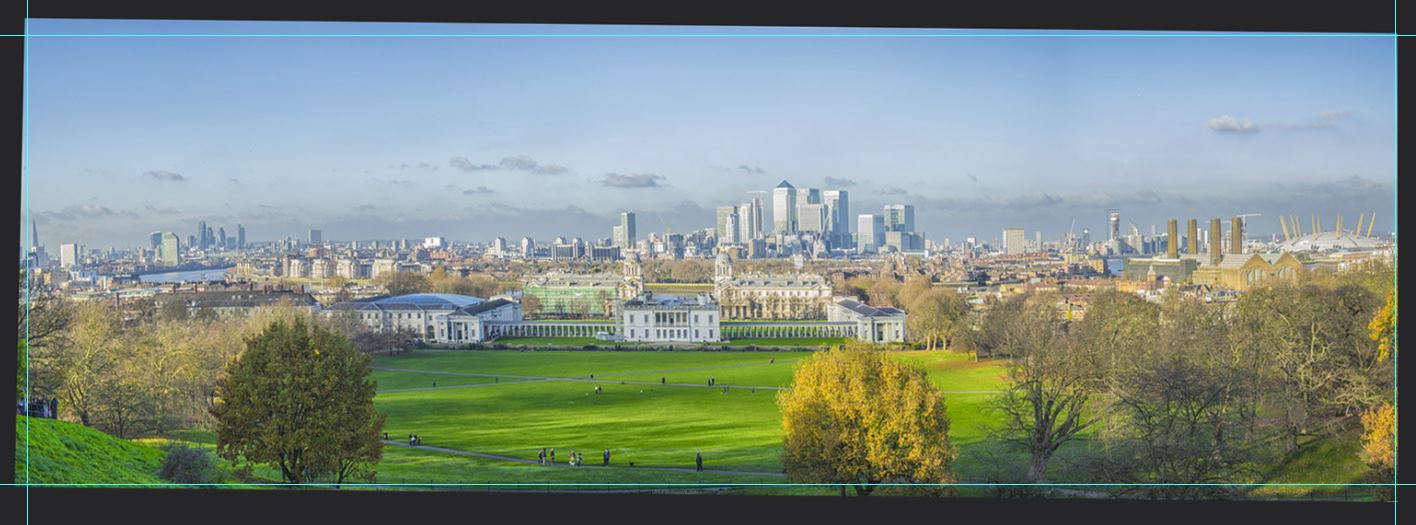
Ian Clarke has kindly let us borrow this image for a quick Tutorial, it is a photograph that he took on our Introduction to Landscape Photography course in Greenwich. Ian has done a fantastic job stitching together this Panoramic and getting the buildings nice and vertical, however the horizon still isn’t quite straight.
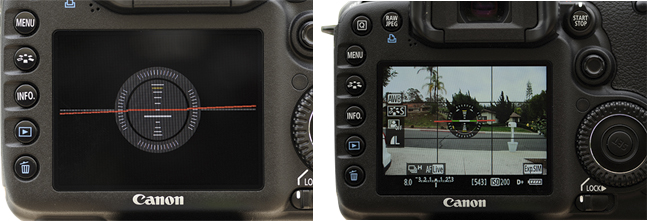
To make this a bit easier for you when taking the photo you need to make sure that your camera and tripod is level throughout the whole x-axis movement. If your tripod and camera does not have an inbuilt level you can purchase one cheaply off of Amazon, see link below. If you are not sure if you have an inbuilt level inside your camera try pressing the Info or DISP button a few times on a Canon or Up and Down on the thumb-pad on a Nikon.
Hot Shoe Level
Fantastic for making your tripod and camera nice and steady
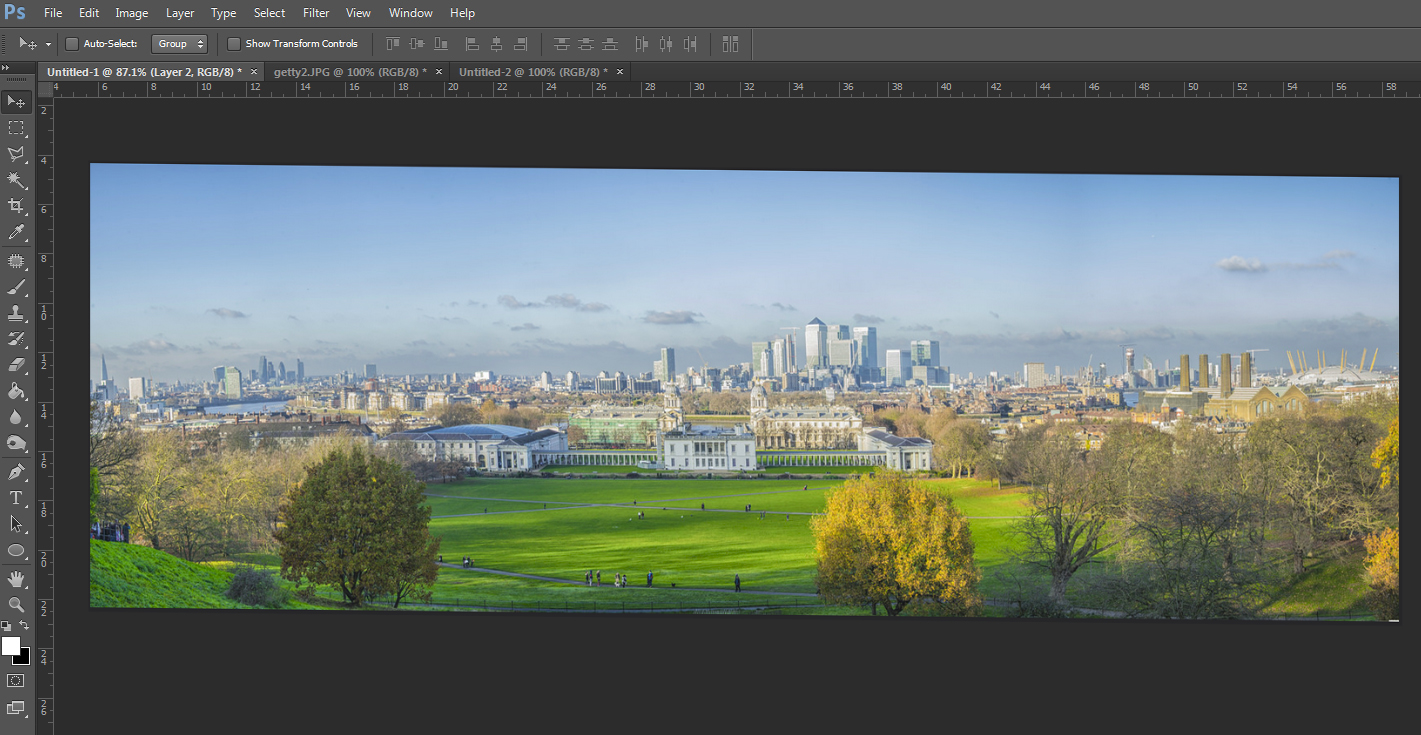
Initially looking at the image below it looks pretty good, lovely exposure, nothing too distracting, nice verticals and well stitched together. There is not an obvious horizon line to follow which makes it hard to see if the horizon is level, and to me it looks slightly off.
 To identify the problem areas we are going to pull out some guides so that we can see what is straight and what is not.

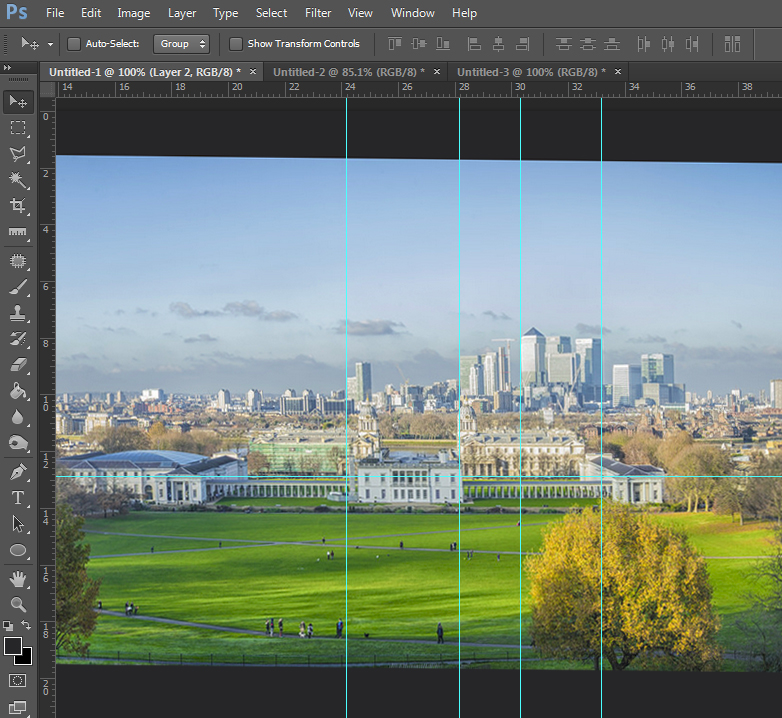
The blue lines are the guides, to pull them out you will need the rulers visible. Press CTRL/CMD+R to make them appear, or go to View>Rulers. They look like this:
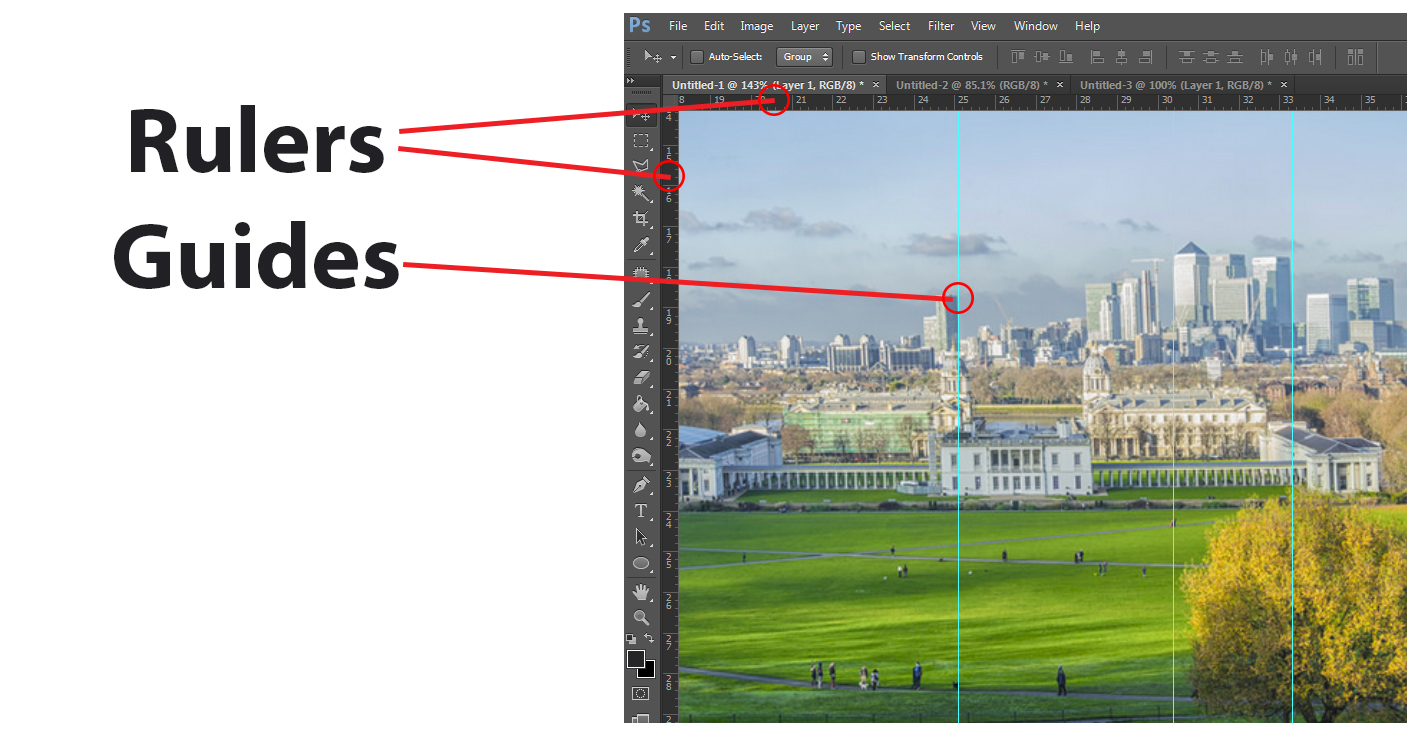
To pull out a guide simply click on one of the rulers and then drag onto your image and a guide will appear. If you drop the guide in the wrong place by accident don’t panic, select the Move Tool (V on your Keyboard) hover over the guide until you get some double arrows and then you can move it to where you want.
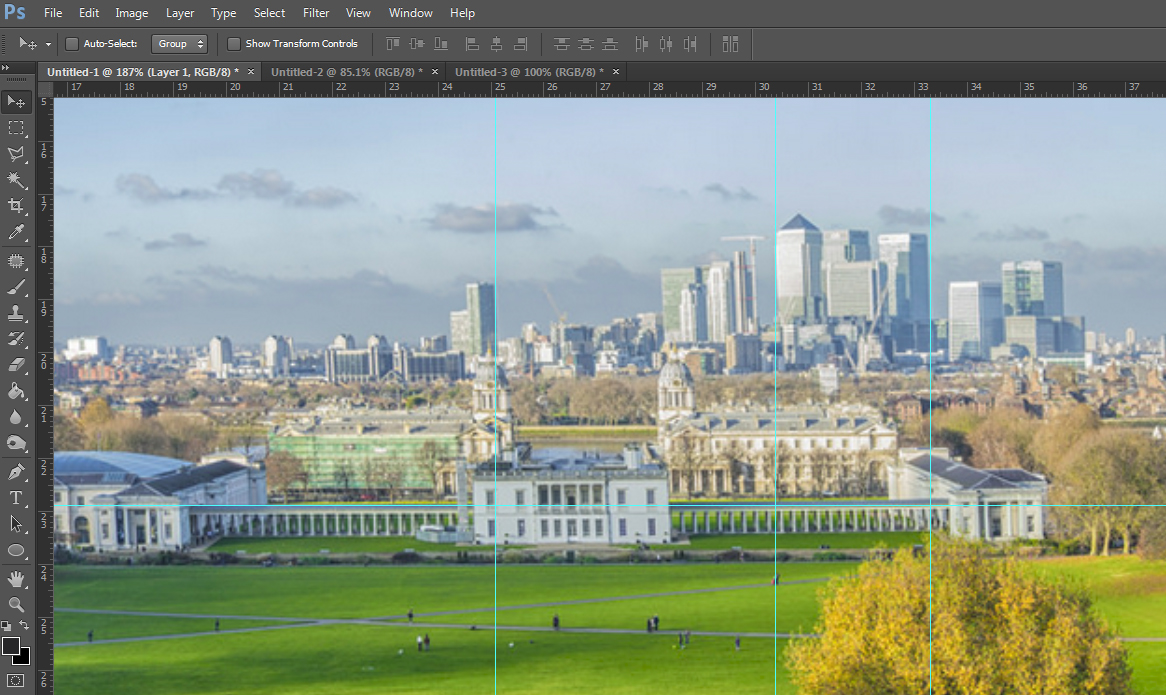
As you can see I have pulled out some vertical guides and aligned them with the buildings at Canary Wharf, they look pretty straight to me, therefore I am happy that they are vertical. Below you will see I have pulled out a horizontal line, as there is not a vanishing point I have aligned it with the most obvious horizontal line to our eye. You can see that the roof of the columns is not straight.
There are various methods we could use to make this part straight, one way would be to use the ruler tool and then crop the image, but as you will see after I show you how to do this it will make the buildings start to tilt. Therefore this is a perspective issue.
1) Select the ruler tool, either by pressing the small arrow on the Eye Dropper icon and then selecting Ruler Tool or each time you press SHIFT+I it will scroll through the available tools until the Ruler Tool is selected.

2) Click and drag a line along the line you wish to be used as your horizon.

3) Click the Straighten Layer button at the top.

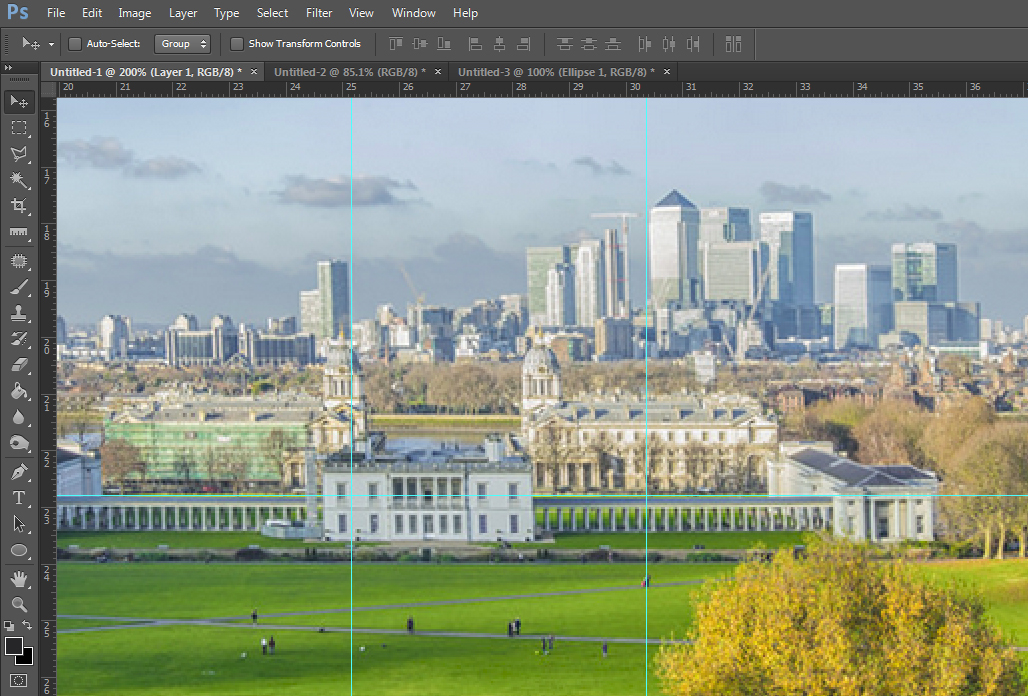
4) As you can see the image is now straight along the columns but the buildings have a slight slant to them:
So now we know it is not to do with the image being straight let’s adjust the perspective.
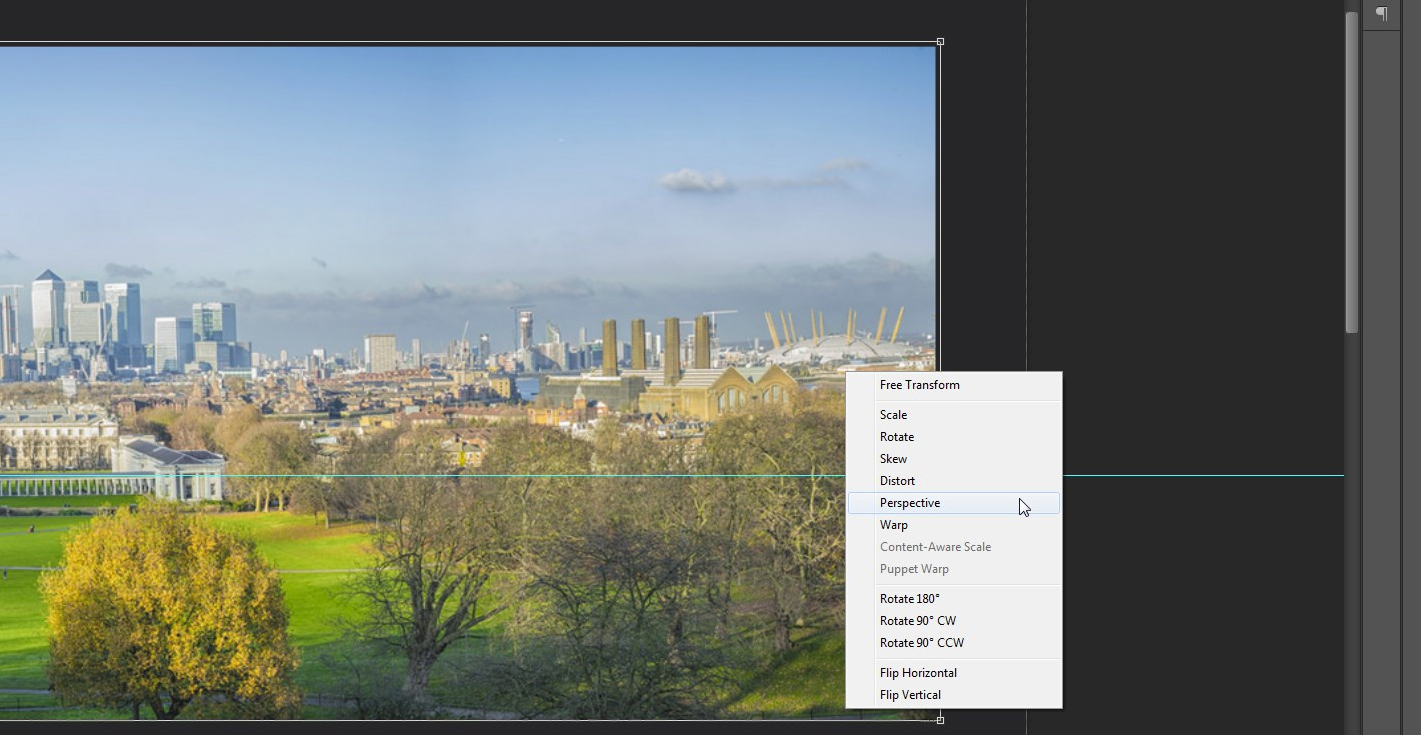
1) Press CTRL/CMD+T on your keyboard to set the image to transform mode.
2) Right click the image and select “Perspective”.
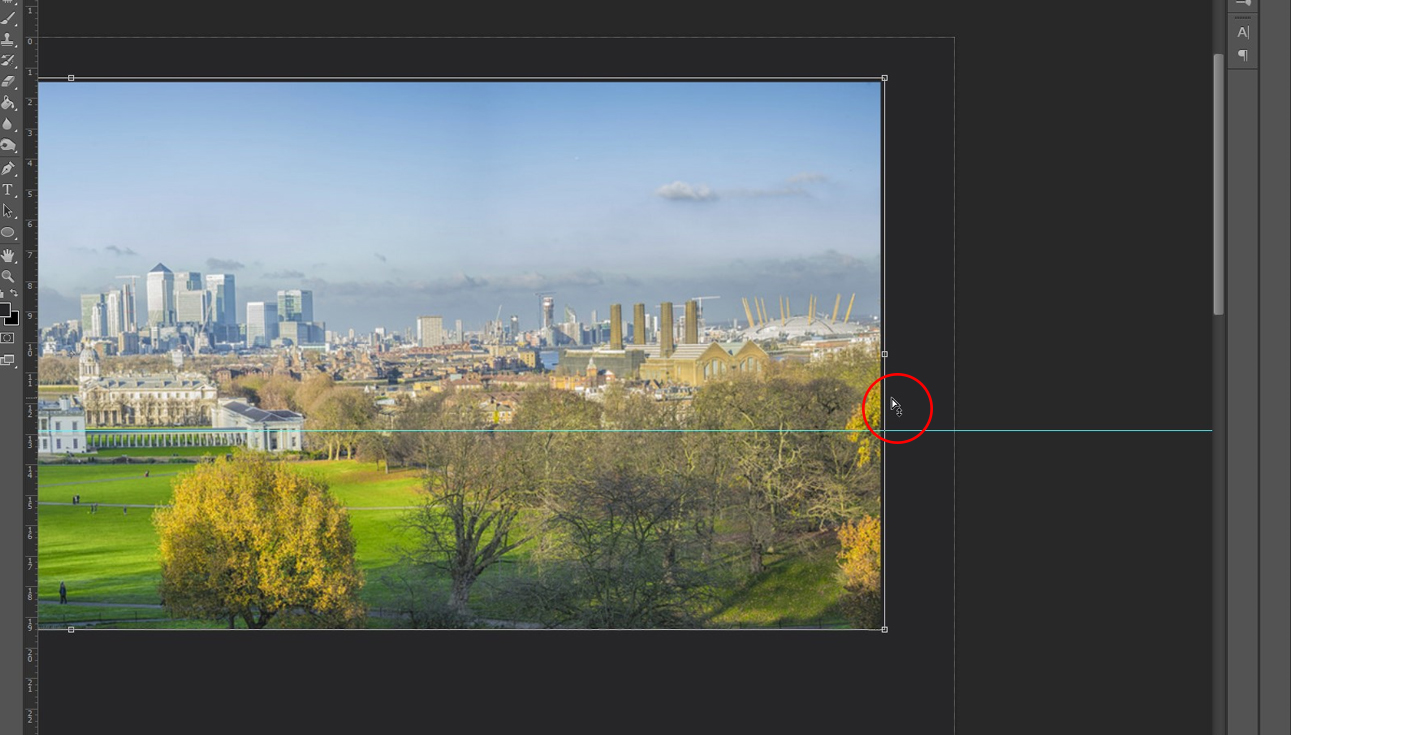
3) For this image we want to adjust the horizontal perspective. Move the cursor over to the right of the image near the bounding box and you will see a set of double arrows. When you have this click and drag up and down and it will change the horizontal slant whilst keeping the verticals still vertical.
 4) Once the roof of the columns is aligned with your ruler guide just press Enter or Return on your keyboard to finalise the changes. You should now have vertical verticals and horizontal horizons.
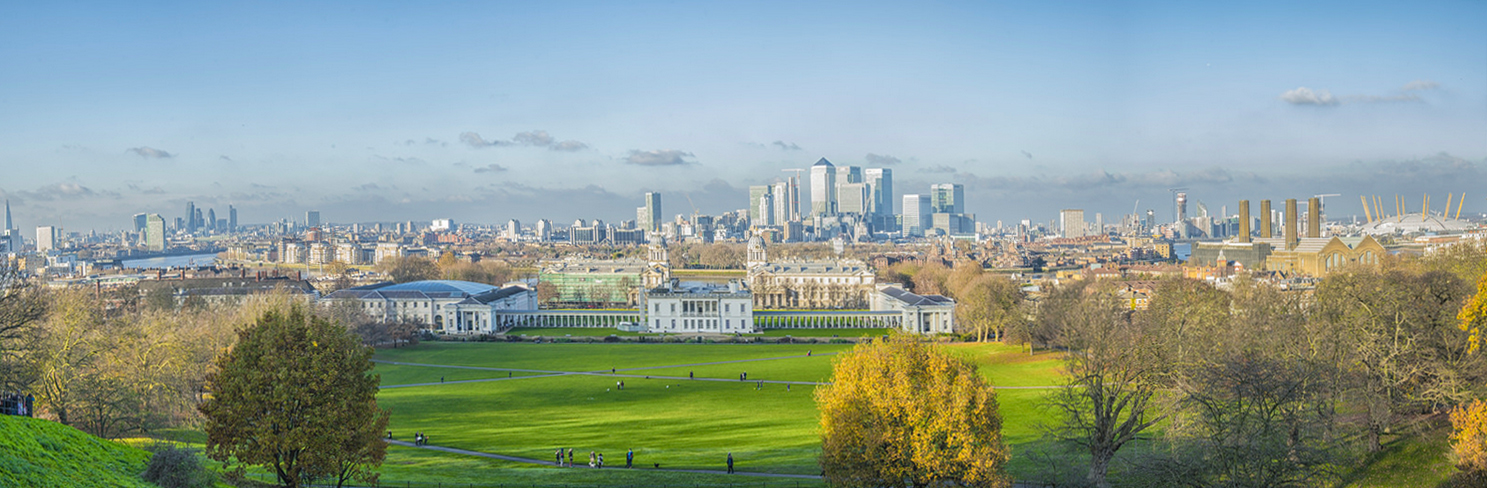
Unfortunately straightening our images up will inevitably result in some cropping being needed, it is unfortunate that we will loose the trunk of the tree although we have managed to retain the 3 main London icons, The Shard, Canary Wharf and The O2.
To Crop:
1) Select the Crop Tool by pressing “C” on the Keyboard.
2) Set the selection to “Unconstrained”.

3) Click and drag over the area you wish to crop and then press “Enter” or “Return” on your keyboard to make the crop.
4) Go to File> Save As> then give it a new name or add the version number after its name e.g. GreenwichPan_V2.jpg.
Here is the final straightened image:
Once again thanks to Ian for lending us this image, be sure to check out his work on Flickr.
If you enjoyed this tutorial and found it useful please comment below and use the social share buttons below to share with your friends.